You’ve spent many hours, and perhaps thousands of dollars on high-quality cameras and computers, shooting and editing your latest YouTube video. The last thing you want is for all that work to go to waste because your project exported too compressed and pixelated.
Don’t worry; we’ve got you covered. Whether you’re uploading a video for your business, vlog, or passion, in this guide, we’ll cover everything you need to know about exporting and uploading videos to YouTube, including:
- The best settings to export to YouTube
- What files and specs YouTube accepts
- Common questions about uploading different files to YouTube
What types of files can you upload to YouTube?
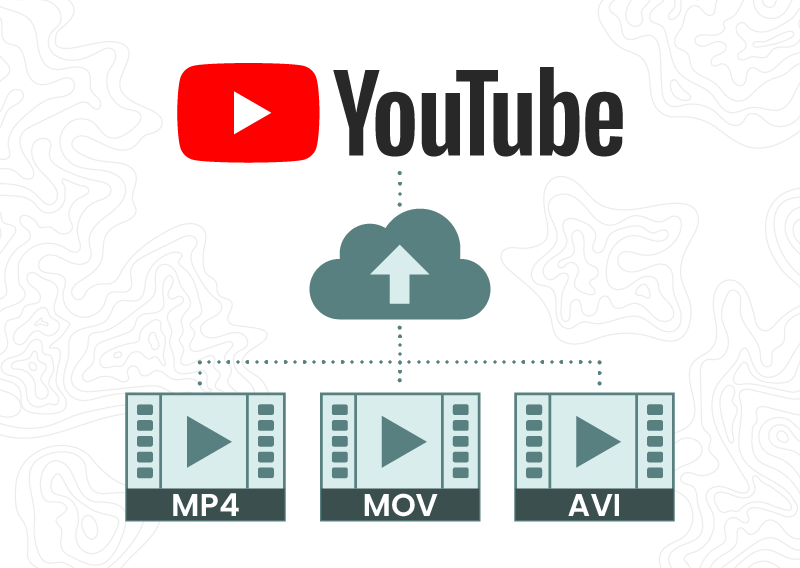
The following are file formats supported for upload to YouTube:
- .MOV
- .MPEG4
- .MP4
- .AVI
- .WMV
- .MPEGPS
- .FLV
- 3GPP
- WebM
- DNxHR
- ProRes
- CineForm
- HEVC (h265)
MOV, MP4, and AVI are the most common types of files you’ll use.
Your video editing software should be able to export to one of the above YouTube video upload formats. If you have an existing file that you’re trying to convert, various encoding apps can also help you convert audio and video files. We have some suggestions below.
What is the difference between video file containers and video codecs?
A video codec is the method used to compress and decompress the video. Raw video and audio take a lot of storage space; therefore, video codec compresses the data making it easier to store it. The most common types of codec used these days are H.264 and MPEG.
The video file container stores the video file and related media. After the codec compresses the file, you can store it in a video file container. Some popular types of video file containers include MOV, MP4, AVI, VOB, and MKV.
YouTube Recommended Encoding Specifications
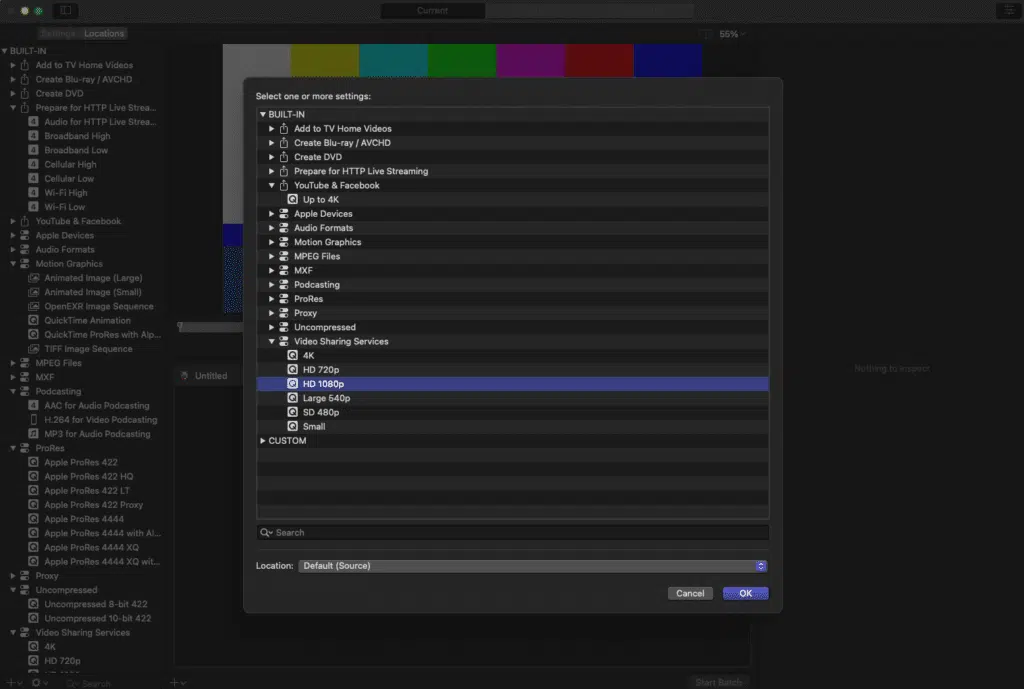
For optimum performance, YouTube recommends specific encoding settings for exporting and uploading your media. These YouTube video upload specs offer information regarding the recommended video container, video codec, audio codec, frame rate, bitrate, resolution & aspect ratio, and color space.
While other upload specifications and settings will also work, reduced settings may produce a lower quality video, such as pixelation and washed-out colors.
Recommended Settings for Standard Dynamic Range (SDR) Videos
| Container | MP4 |
| Video Codec | H264 |
| Audio Code | AAC-LC in Stereo or 5.1 surround, with a sample rate of 96khz or 48khz |
| Frame Rate | Same frame rate as recorded, usually 24, 25, 30, or 60 FPS |
| Bitrate | 4K Videos: 35-45 Mbps 1080 HD Videos: 8 Mbps |
| Resolution | 4K: 3840 x 2160 HD: 1920 x 1080 Export at the setting most of your video was shot in |
| Aspect Ratio | 16:9 (YouTube will automatically letterbox anything not uploading in this ratio) |
| Color Space | BT or Rec 709 |
Recommended Settings for High Dynamic Range (HDR) Videos
YouTube currently supports HDR videos. HDR is a special format that accommodates a wider set of color data, producing more vibrant images. But it’s only available when shooting with supported cameras and edited in software that supports HDR. If you’re not sure if your video is HDR, it most likely is SDR (Standard Dynamic Range).
| Container | MOV MP4 MKV |
| Video Codec | H.264 10 bitVP9 Profile 2ProRes 422ProRes 4444DNxHR HQX |
| Audio Code | AAC-LC in Stereo or 5.1 surround, with a sample rate of 96khz or 48khz |
| Frame Rate | Same frame rate as recorded, usually 24, 25, 30, or 60 FPS |
| Bitrate | 4K Videos: 44-56 Mbps 1080 HD Videos: 10 Mbps |
| Resolution | 4K: 3840 x 2160 HD: 1920 x 1080 Export at the setting most of your video was shot in |
| Aspect Ratio | 16:9 (YouTube will automatically letterbox anything not uploading in this ratio) |
| Color Space | BT or Rec 709 |
Read this for more on HDR requirements on YouTube.
Best Quality Export Settings for YouTube Video
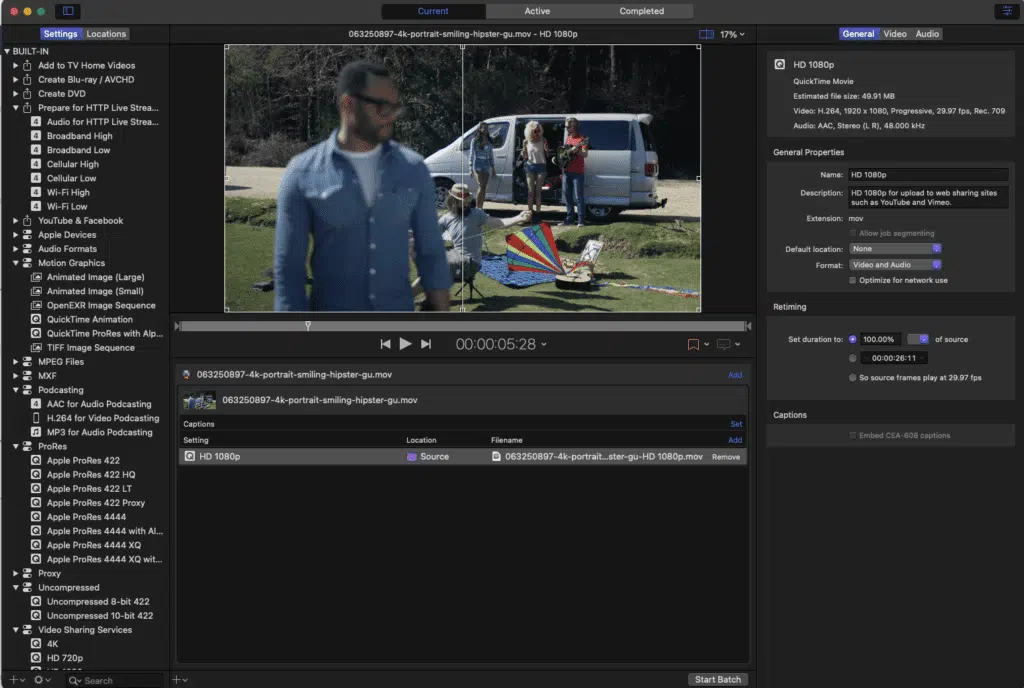
While the above is YouTube’s recommended settings, if your software and internet speed support it, there are a few ways to get even higher quality video uploaded to YouTube.
YouTube’s max file size limit is 128 GB – large enough to handle professional-grade codecs. So if you have the speed to support it, here are our recommended max settings.
But keep in mind, your final output is only as good as your source video. Exporting at a higher setting than the video you shot won’t magically make your video higher quality.
Best Settings for 1080p HD Videos
File: MOV
Format: ProRes 422
Dimensions: 1920 x 1080p
Frame Rate: Same as recorded
Bitrate: 12 Mbps+ You may also use 2-pass variable bitrate, VBR 2-pass, where available.
Audio file format: AAC
Best Settings for 4K Videos
With some exceptions, you can use a similar setting for 4K videos. Here is a general guideline to get the best quality:
File: MOV
Format: ProRes 422
Dimensions: 3840p x 2160p
Frame Rate: Same as recorded
Bitrate: 45 Mbps+
Audio File format: AAC
Best Video Format to Upload to YouTube
YouTube recommends uploading videos in MP4 using the H.264 video codec and AAC audio codec.
If your computer and editing software supports it, ProRes 422 is the highest quality file format to upload to YouTube.
Most cameras still shoot in HD resolution at 1920×1080 pixels. If your video was shot at this size, then you want to upload it in that size.
If you’re using a smartphone, the YouTube app on iOS and Android lets you convert your videos to 1080p.
Newer cameras and smartphones now record in 4K or 2160p. If you have the storage space, this is the best choice to shoot and upload your video as it’s much higher quality and helps future-proof your video resolution.
If you’re in the US, you’ll want to use a frame rate of 24 or 30 fps. 25 fps is common in Europe and Asia.
Gaming videos and some vlogs tend to record at 60 fps. This creates a smoother, more hyper-realistic image. 24 fps is the traditional rate for cinema.
There’s no correct frame rate – it’s really a style choice.
You should shoot and export your video with a 16:9 ratio (horizontal format). If your video was shot vertically, YouTube will automatically add black bars on either side and shrink it to fit inside a 16:9 box. It doesn’t look great, so you should really shoot in 16:9.
Export your video to MP4. YouTube recommends using H.264 codec for encoding. Other popular codecs are MPEG-4 and MPEG-2.
How to Encode a Video for YouTube
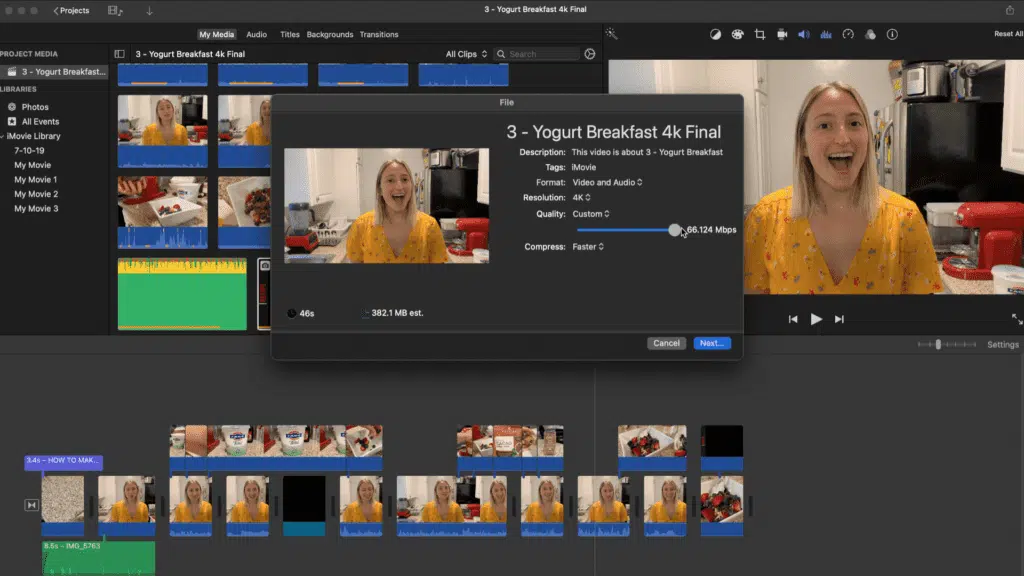
The best way to encode a video for YouTube is by exporting it from your editing program.
Most video editing software supports the H.264 video codec recommended by YouTube. Using H.264 video codec to encode a video is also practical because modern camcorders, smartphones, and recording equipment record in H.264 format.
Exporting your video from iMovie will do this automatically.
Some video editing programs do not support H.264 and MPEG-2. In such cases, you can use additional encoding software.
Here is a list of five popular apps that you can use to encode a video for YouTube:
FFmpeg (free)
Handbrake (free)
Commonly Asked Questions about Exporting and Uploading to YouTube
What format does YouTube upload the fastest?
YouTube recommends uploading your videos in mp4 format for faster uploads using the H.264 video codec and AAC-LC audio codec. The upload time will also depend on the duration and the size of your video. The maximum file size is 128GB.
How can I lower YouTube file size without losing quality?
You can reduce large-sized videos to a much smaller size without losing quality by using a video compressor. The large size of the video is mostly due to resolution, bitrate, and encoding. Try using different bitrate settings until you find one that produces a small enough file size while still looking good.
Can you upload QuickTime to YouTube?
YouTube supports uploading QuickTime videos in MOV format. For smaller files with good quality, use the H.264 video codec. For the highest quality possible, use ProRes 422.
Can you upload MPEG to YouTube?
Yes, YouTube supports MPEG format. For best results, use MPEG-4 or MPEG-2 formats.
Can you upload MP4 to YouTube?
YouTube recommends MP4s as the best file type to upload to YouTube. When uploading an mp4 video, use H.264 video codec and AAC-LC audio codec for optimal results.
Can you upload MOV to YouTube?
MOV is one of the many video formats for YouTube. If your MOV file is large, use a video compressor to adjust the size before uploading.
Can you upload AVI to YouTube?
YouTube supports AVI format. This is an extremely common video format for YouTube when working on Windows computers.
Can you upload WMV to YouTube?
The WMV is among the supported formats on YouTube. If you’re facing problems uploading the content, it’s likely because YouTube does not recognize certain audio and video streams of WMV files. In such cases, convert the file to FLV, AVI, or another format before proceeding with the upload.
Can you upload FLV to YouTube?
Yes, you can use FLV to upload the video to YouTube. If you get an “invalid file format” error, it may be because the video is not encoded with Adobe-FLV1 video codec, MP3, and AAC audio. Use the appropriate video and audio codec settings for easier uploads.
Can you upload WebM to YouTube?
You can upload a video on YouTube using WebM format. Compared to MP4, it has a relatively smaller file size and offers similar compression. All the major Internet browsers also support WebM.
We hope you found this guide useful. If you’re looking to live stream with YouTube Live, make sure to check out our virtual event guide.

