


YouTube is one of the biggest websites in the world and comes second only to Google’s search engine when you’re talking about traffic.
If you have a business, video should be high on your priority list for content marketing, and there’s no better platform for video than YouTube.
Whether you’re a solo entrepreneur or a large company, there’s money to be made in this video-streaming platform.
So how do you set up your YouTube channel? We’ll not only teach you how to set up a YouTube account but also how to verify, build, and market your brand.
Let’s get started!
Personal and Brand YouTube Channels: The Difference
Personal YouTube channels are typically run by one person, meaning the channel only has one administrator account. That single person handles everything and cannot add a new administrator to the channel.
Brand channels can have multiple Google accounts associated with them.
Now, the steps for setting up a company YouTube channel are not that different from setting up a personal one. It’s good to note that if you start with a personal YouTube channel, you can always move it to a business account later on.
Setting up a New YouTube Channel for Your Brand
Set up or log in to a Google account
You can either use your current Google account or make a new one for setting up a youtube account. For those of you that don’t have a Google account at all, start by signing up. It’s completely free.

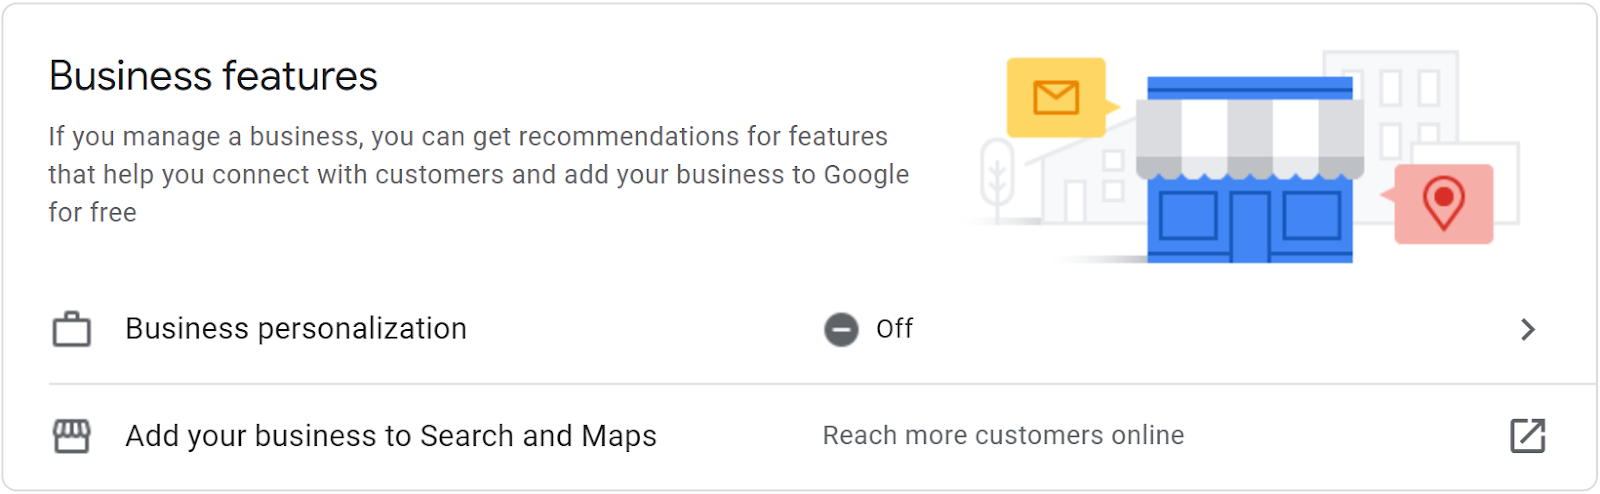
First, you’ll want to click on Create account and then select either For myself or To manage my business. For clarification, there’s no difference between the two options other than the fact that your Business personalization is on by default if you choose the business option.
Everything from that point should be pretty straightforward. Simply fill in the details with your credentials and sign up.
It’s good to note that Google doesn’t require you to create a brand new @gmail.com address. You can reuse your old email and create a Google account that way.
Create a Channel on YouTube with Your Google Account
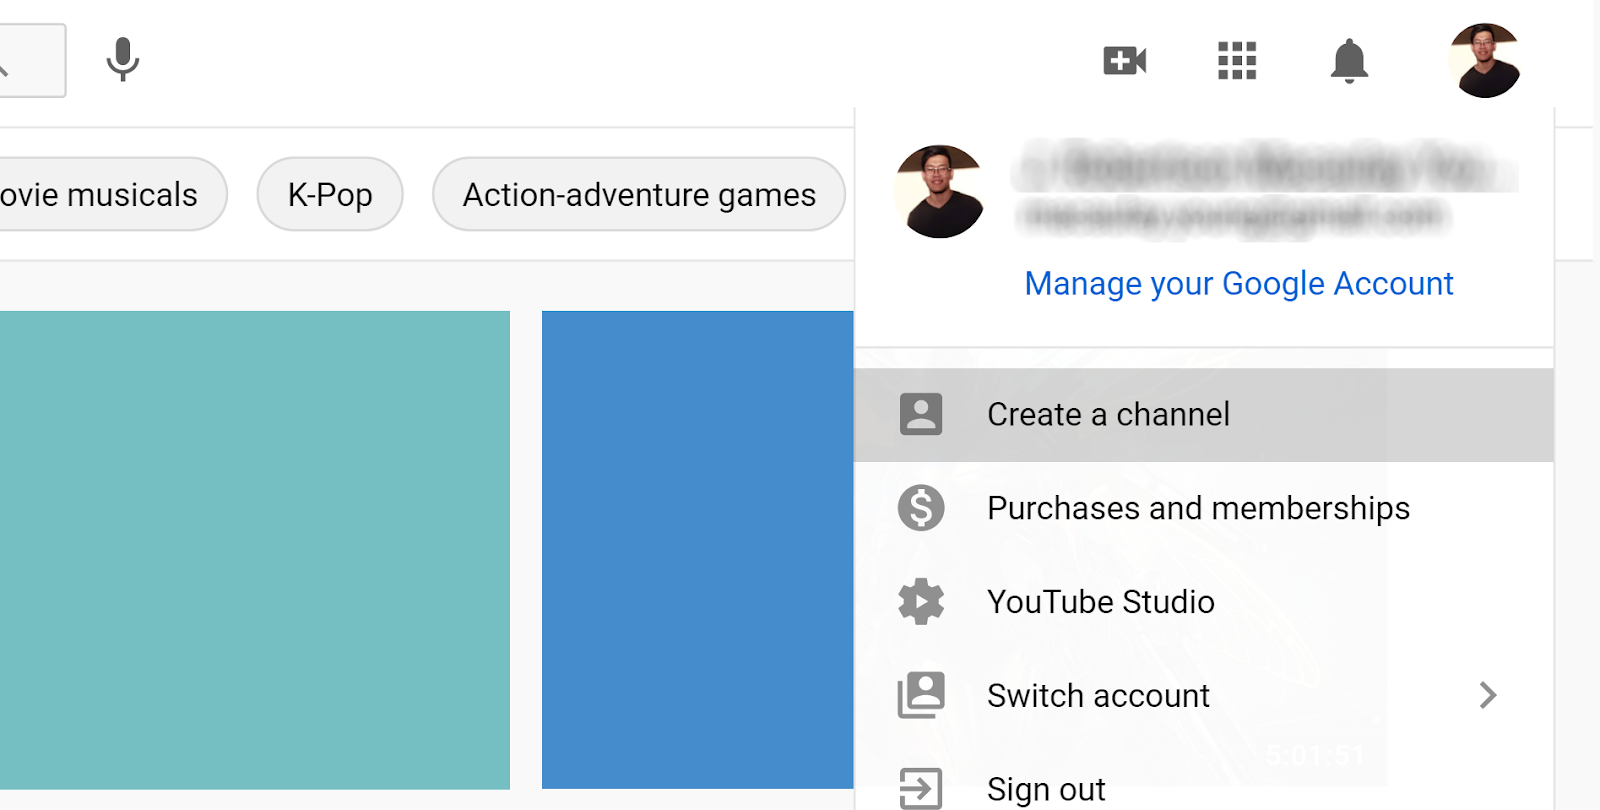
Once you’ve signed in, it’s time to set up a new YouTube channel. Click on your account icon at the top-right corner of your screen and select Create a channel.
You can either use your account name or a custom name. I suggest using a custom name and making sure it’s a brand name that sticks to your audience.
Important Note: YouTube only lets you change your channel name three times every 90 days.
Uploading a Profile Picture
Let’s start by uploading a profile picture for your YouTube channel.
Your profile picture is the second-most familiar part of your YouTube channel that your viewers will associate yourself with, so finding one that sticks is definitely a priority.
If you’re a business channel, your company logo will work.
For personal YouTube accounts, maybe a high-quality photo of your face.
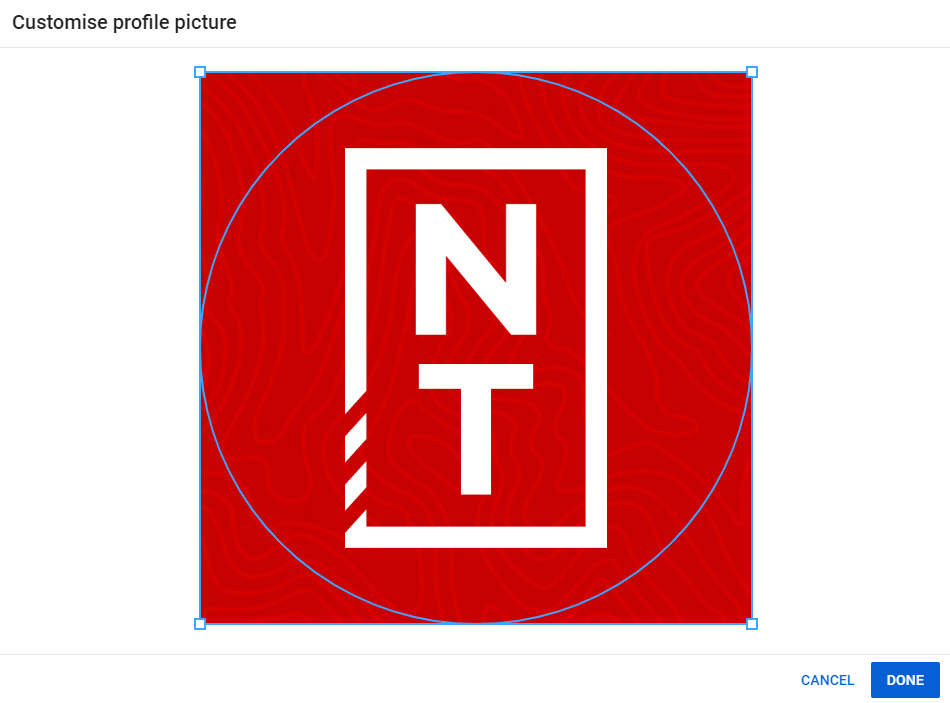
Keep in mind that you cannot adjust the photo when you upload it, so I suggest uploading a square photo with your subject in the center.
YouTube recommends that you upload an 800×800 pixel picture that’s in PNG, BMP, JPEG, or GIF (but without animations) file that’s 4 MB or less. Take some time to check out the Community Guidelines from YouTube to make sure your profile picture is appropriate.
A Channel Description
What’s your channel about?
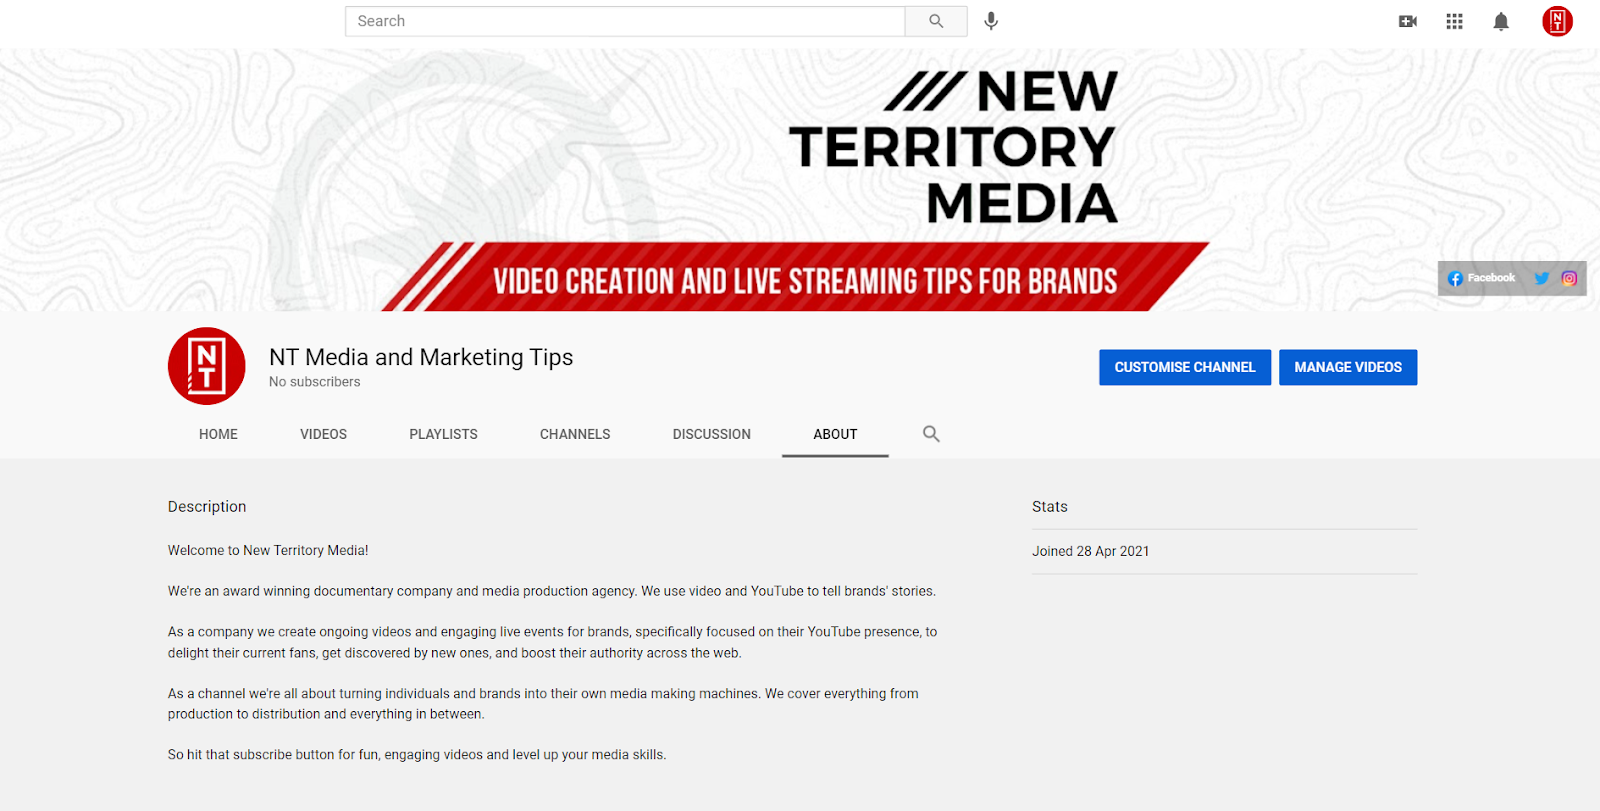
The channel description lets you tell your viewers and potential viewers what your channel is about. Successful YouTube channel descriptions mix personality and intrigue viewers to learn more about the channel.
Make sure that your description is clear and represents the videos on your channel. I suggest keeping it short or looking at the channel description of YouTube channels that you admire and taking inspiration from them.
Talk about the videos you create, the vibe of your channel, or link your social media and websites at the bottom. Although there’s a dedicated section for this later, having the links below still helps.
Add Links to Your Sites
This step is pretty straightforward, simply add in your Social links so your viewers can follow your social media. You can also add a custom link too, perhaps for your website, online course, or promo materials.
Here’s where those links land.
Links add some credibility to your YouTube channel and shows viewers that your brand is well established.
Once you’re done with that, congratulations on setting up your YouTube channel! Let’s take it to the next step by making it look professional.
Customizing Your YouTube Channel
Start by clicking on the Customize Channel near the top-right corner of your screen. Here’s where the real magic happens.
Branding Tab
Go to the Branding tab. Here’s where we’ll be adding your banner image and channel watermark.
Picking a Banner Image
Since you’ve already uploaded a profile picture, let’s move on to your banner image. This image appears across the top of your channel on computers, phones, and tablets, but shows as the main background of your channel when viewed on a TV.

You’ll want your channel art to represent your brand and what you’re all about, even if it means that only a small area of it is seen (computer, phones, and tablet viewers).
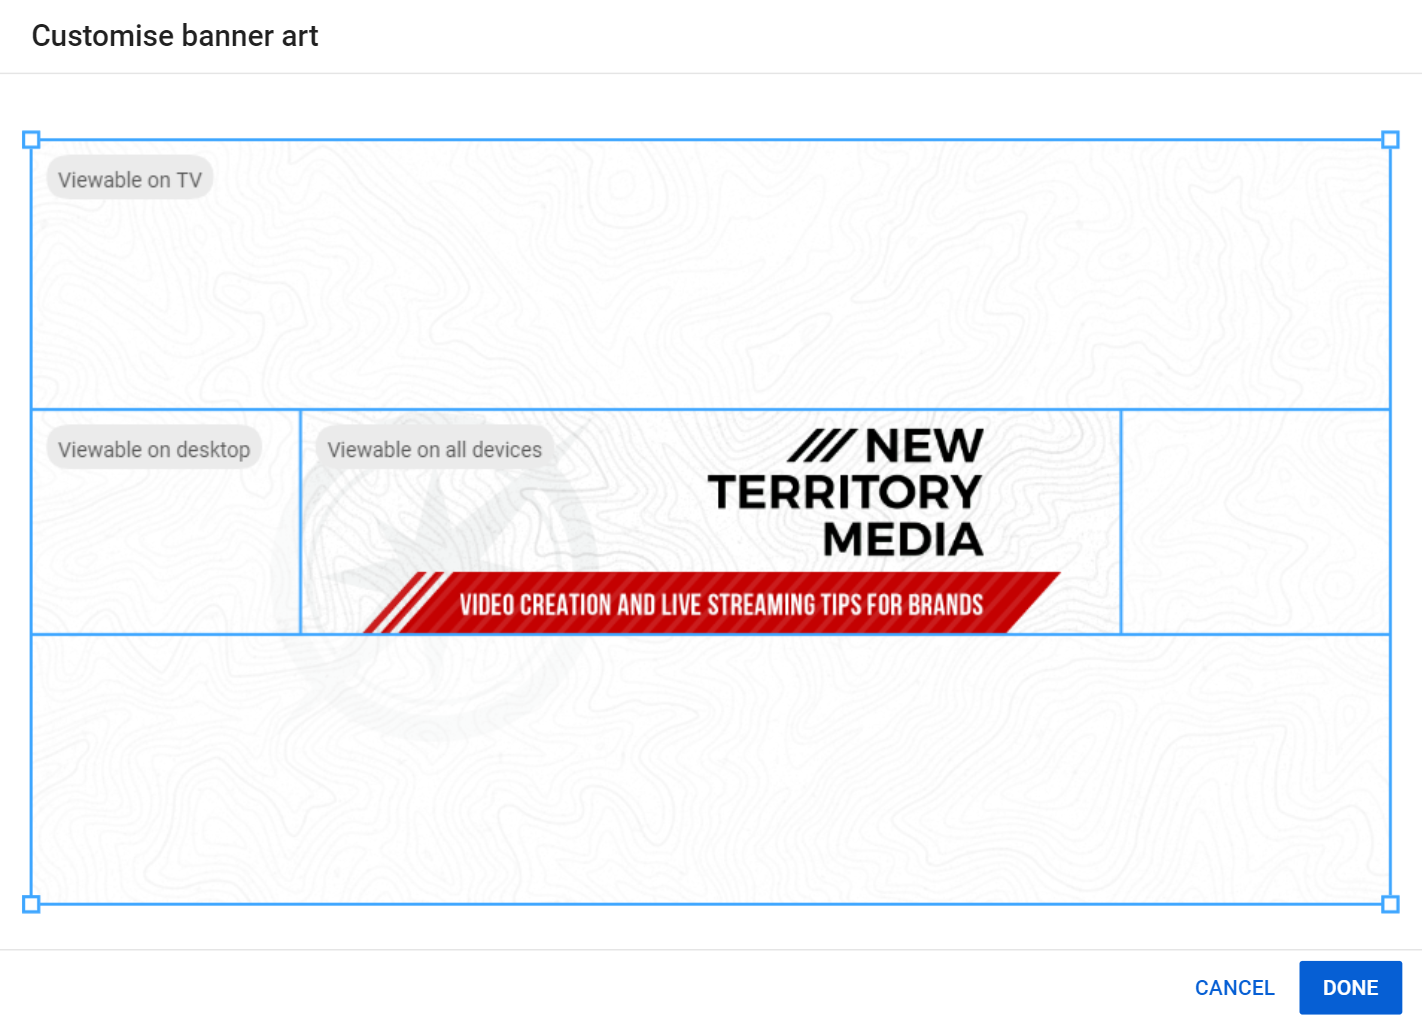
YouTube recommends that you get a 16:9 aspect ratio picture with the best resolution being 2560×1440. Make sure the file size is 6 MB or less.
Adding a Video Watermark
Next is adding a watermark for your videos. The watermark acts as a mini logo at the bottom-right corner of your videos, so that your brand is visible when your viewers screenshot your videos.
A 150×150 image will do the job for this, uploaded as a PNG, BMP, JPEG, or GIF (without animation) that’s 1MB or less.
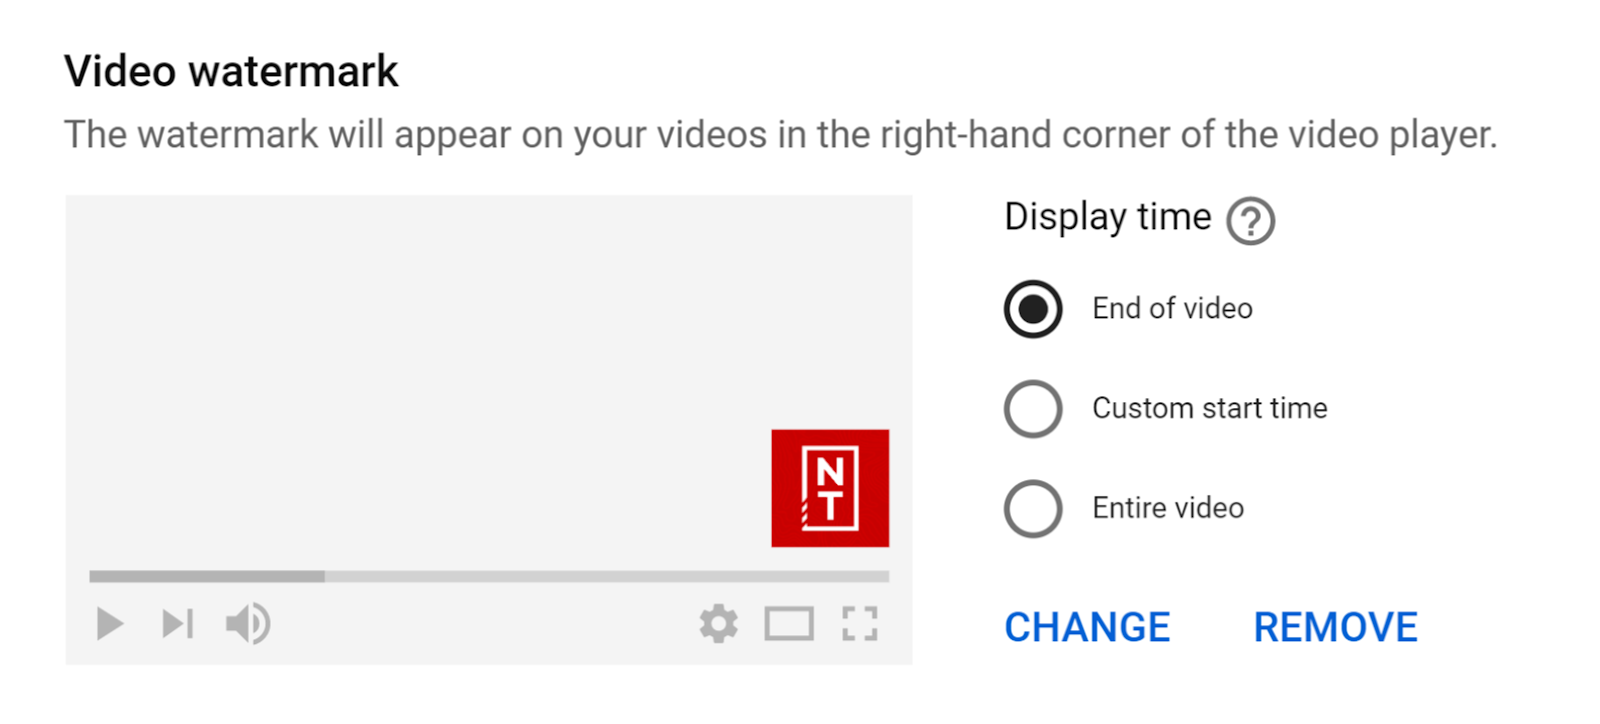
Finally, pick out when you want the watermark to show: at the end of the video, custom start time, or throughout the entire video.
Layout Tab
The layout tab customizes the look of your YouTube channel for returning subscribers or new potential viewers.
Channel Trailers and Featured Videos
Trailers are useful for viewers who aren’t familiar with your channel and aren’t subscribed. Your trailer should show what the channel is about or what the highlights of your channel are. This is the best way to give your audience a preview of your videos.
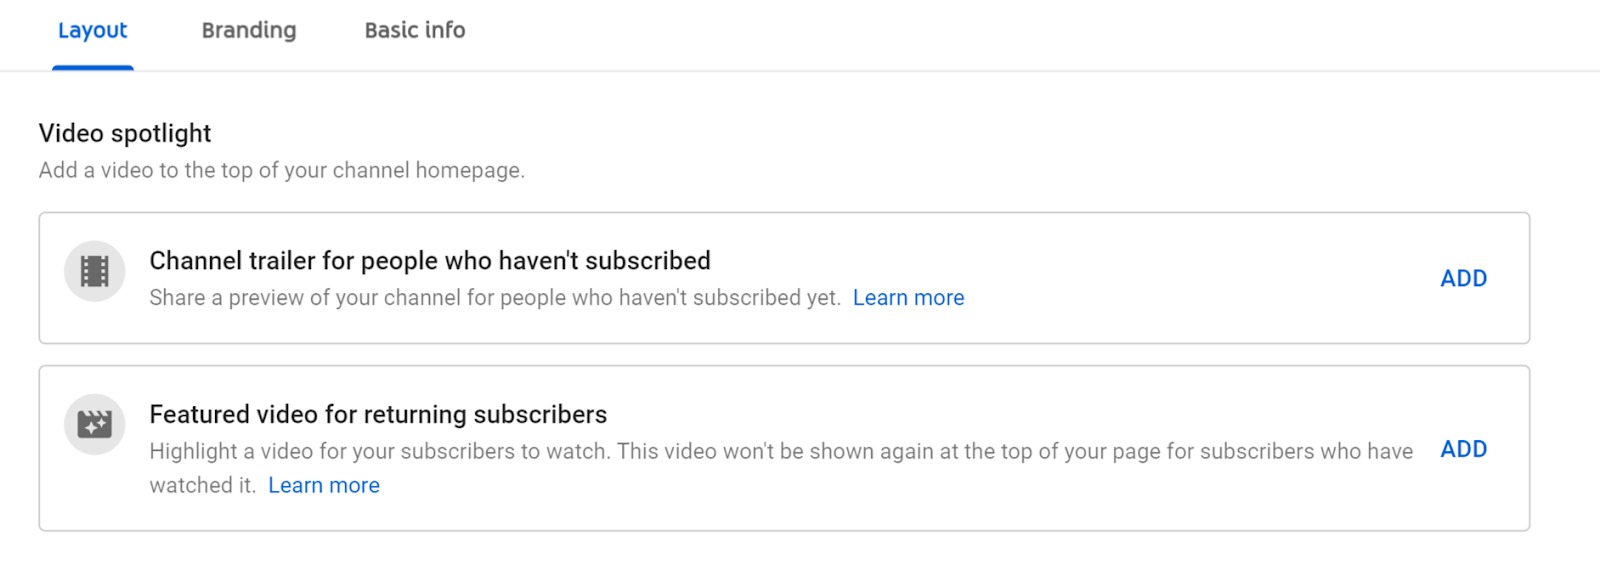
Featured videos on the other hand are shown to viewers who are subscribed to your channel.
However, there’s an argument to be made that the best preview of your YouTube channel should be one of your YouTube videos and not a trailer.
Instead of uploading or producing a YouTube trailer, I recommend following the YouTube trend and just make your channel trailer and featured video one of your recently published videos.
Featured Sections
Featured videos and playlists let you arrange the types of videos you want to appear on your homepage. Your featured sections will appear not only on your channel page but even as a search result on YouTube’s search engine if it’s relevant enough.
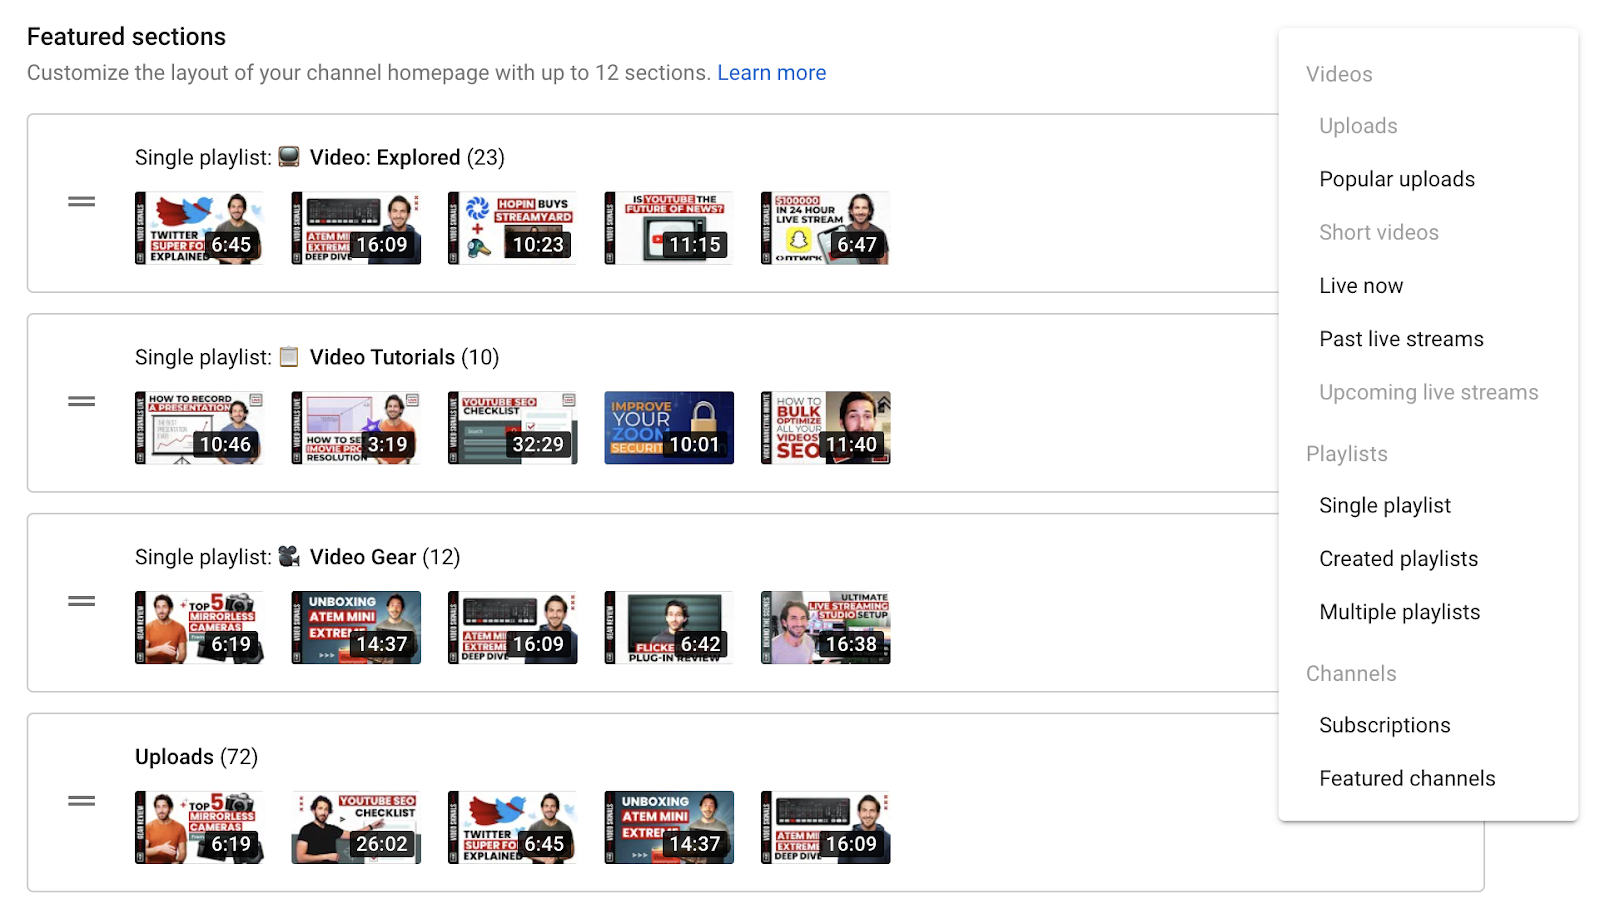
Here’s what you can add to your YouTube Channel’s Featured Sections:
- Uploads
- Popular Uploads
- Short Videos
- Live now
- Past live streams
- Upcoming live streams
- Single playlists
- Created playlists
- Multiple playlists
- Subscriptions
- Featured channels
However, since your channel is still barren, you won’t have any videos to feature yet. You can revisit this later once you’ve created some videos and uploaded them to your channel.
Basic Info Tab
Your basic info is pretty much complete, but there’s one thing that’s missing.
Contact info
When you’re in the Basic info tab, simply scroll down and look for Contact info.
Input your email in that little text box and you’re good to go!
Don’t forget to save your changes by clicking on the Publish button at the top-right corner of your screen before moving on to the next step.
Uploading Videos
First off, make sure your video file format is supported. Here’s the list of the five most common supported video files that YouTube accepts:
- .MOV
- .MPEG4
- .MP4
- .AVI
- .WMV
Before uploading, make sure you export your video with the best quality video settings for YouTube. For software-specific options, check out our guide for exporting video from Adobe Premiere and uploading to YouTube from iMovie.
Setting Up For Success
Becoming a successful YouTube channel is more than just having a nice-looking banner or a pretty profile picture. Here are a couple of tips that you can use to ensure that your channel will grow with views and subscriptions over the next coming months.
Consistent Posting Schedule
Building a habit in your audience is a key to growth, and the best way to do that is to have a consistent posting schedule. Once a week is good, but even every other week is fine as long as you stick to the schedule. Posting the same day each week at the same time is key to growing your audience.
Viewer Satisfaction
One of YouTube’s biggest considerations when recommending your videos is your viewer satisfaction. Do your viewers watch your videos from start to finish? What’s the like and dislike ratio of your video?
The key to making yourself more discoverable on YouTube is by making yourself algorithm-friendly. Here are 20 YouTube algorithm facts that you can work on as you set up a new YouTube channel.
Verifying Your YouTube Channel
There are two types of verification for YouTube channels. One is the standard verification process where you insert your phone number and prove that you’re a real human being. The other is when you get a little grey checkmark that marks you as the official channel for your brand or personality.
The more urgent step here is verifying your YouTube channel, so you can unlock some features for your YouTube channel.
Verifying Your YouTube channel
YouTube’s account verification is simply a process that proves you own that account and that you are a real human, not a robot.
YouTube lets you do this by simply adding your phone number to your account.
Verifying your account with a phone number unlocks several features like:
- Upload videos over 15 minutes long
- Add your own custom thumbnails
- Livestream your own content
- Submit content ID claims.
YouTube Verification Badge
A verification badge is a statement from YouTube itself making a channel the official YouTube channel of a certain creator, company, artist, or public figure. This is the grey checkmark that you want.
Getting the grey checkmark is no easy task. Here are the three variables that YouTube takes into consideration if you apply for a verification badge:
- Authenticity — Are you really the official channel of the creator, company, or person that your channel is about? YouTube will go through many steps to verify that your channel is the real deal.
- Complete — Your channel must be public and active while having a channel banner, description, profile picture, and content.
- 100,000 subscribers – Your channel must have at least 100,000 subscribers.
Having the grey checkmark doesn’t actually change your YouTube channel in any way, aside from adding the grey checkmark. You don’t get any special perks, but just having the verification badge is its own prize. Learn more here.
Managing YouTube Channel Permissions
Adding and removing permissions on your YouTube channel is a very lengthy topic, so I’ll keep this succinct.
There are five levels of permissions that you can grant to your staff or viewers for your YouTube channel:
- Manager — Can add or remove account permissions and edit the channel’s details. Managers can also upload, edit, publish, and delete videos. However, they can’t delete the channel.
- Editor — Can upload and edit videos to the channel, as well as delete draft videos. However, they can neither add nor remove account permissions nor delete published videos or the channel. Editors can’t enter into contracts as well.
- Editor (Limited) — Everything the editor can do, but they can’t see revenue information.
- Viewer — Can view but can’t edit channel details.
- Viewer (Limited) — Everything the viewer can do except they cannot view revenue information.
You can learn more about adding access and user permissions on Google’s official support thread.

![YouTube Banner Template [Free Download]](https://newterritory.media/wp-content/uploads/2023/02/YouTube-Cover-Blog-Post-04-400x250.jpg.webp)
